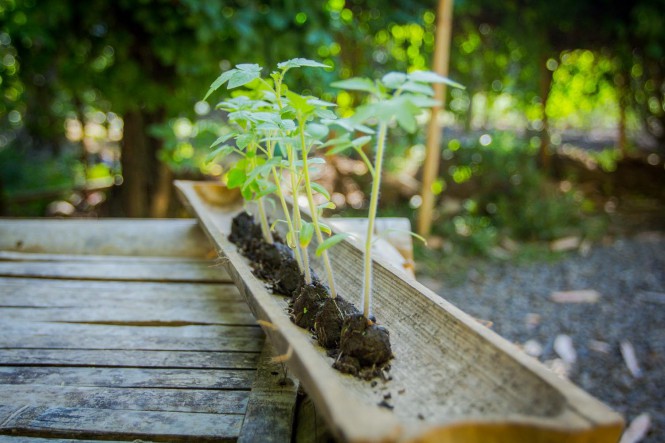
Worm farms are a fast and easy way to create microbial rich compost from manure and green waste such as food scraps and garden trimmings. This compost is known as ‘vermicompost’ and is a great way to fertilize your garden and seedlings. Worm castings are full of beneficial micro organisms and fertilizer that will keep your soil happy.
Things you need:
Barrel (polypropylene plastic is best, but metal can also work)
Drill + carving knife + saw + glue
Bamboo, metal or wooden stand
Piping, tap with stop valve
Bucket
Water (non-chlorinated)
Carbon rich material (cardboard, paper)
Tiger worms (Eisenia Fetida)
Small bucket
Decomposed cow manure
Food scraps
Mesh
Coco peat (optional)
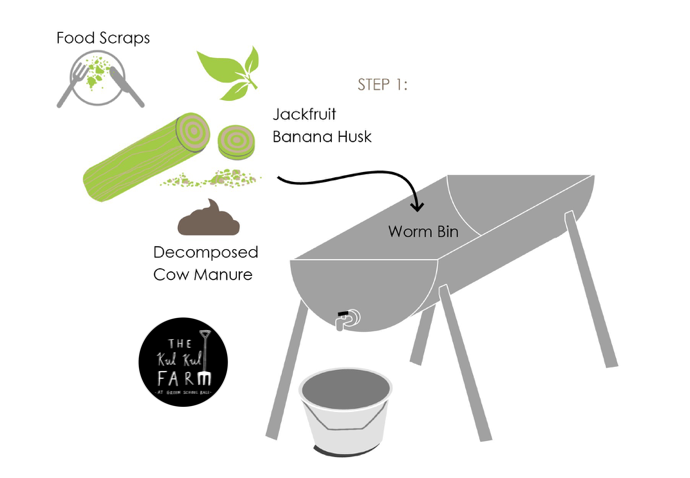
Step 1: Build
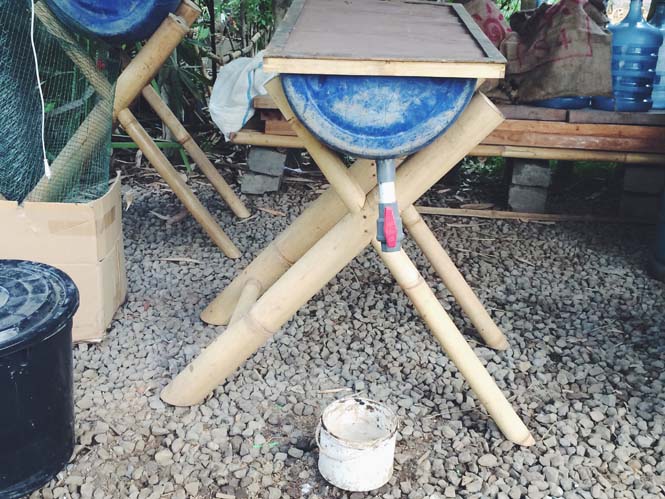
There are a numerous ways you can build or set up a worm farm. Here’s a simple design we created, that you can easily build yourself for your home garden. Using a saw cut your barrel in half. Drill and carve a 2.5cm hole at one end and put a pipe through, attach a fitting on either end ensuring you leave around a length of 5cm pipe on the inside of the barrel, to use as a drain for your worm juice. Drill holes through this pipe on the inside. Next, create a stand for your halved barrel at table height. We used 4 bamboo poles attached to one another.
(If you’re in Bali and don’t want to make one yourself, we can make it for you, otherwise if you’re based overseas you can now easily purchase a fancy worm farm online. Our advice: Start by building one yourself, its way more fun and gives you a holistic understand of whats going on.
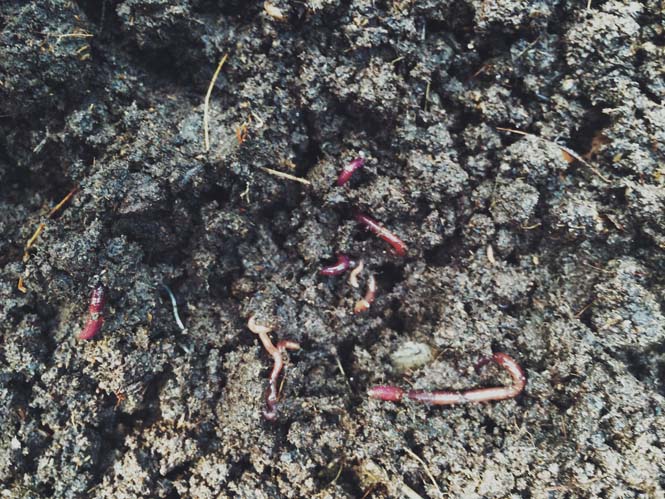
Step 2: Find + feed your worms
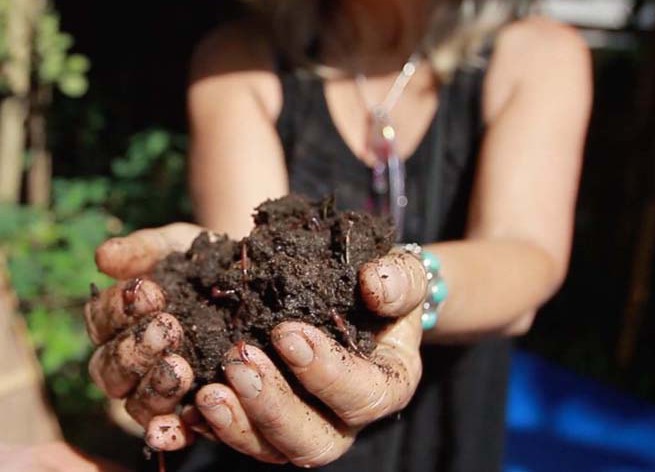
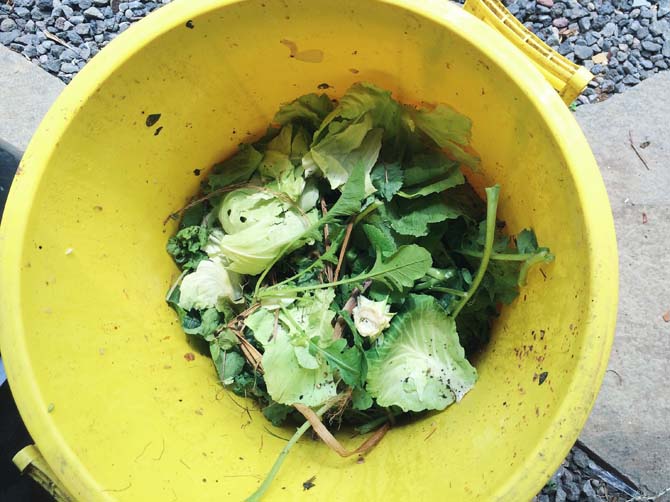
Worm farms can host a few different varieties of worms but preferably you want to use the red worms- Eisenia Fetida, which thrive as long as they receive plenty of manure and food waste. You can get your worms from an agricultural store, us (if in Bali) or other neighbourly farmers. You should have around 2000 worms to start, to consume around 2 people’s food waste. Happy redworms will eat half their weight in food everyday. Leave a bucket in your kitchen that’s just for gathering worm-loving foods. Avoid meat, poultry, fish, dairy, potato chips, candy, oils, oranges, lemons and limes. To help the little guys out you can begin the decomposing process for them by putting your food scraps in a blender or juicer, however this isn’t necessary (especially in the tropics, where things breakdown fast!).
Juicy Tip: Place your worm farm right outside your house or kitchen (your Zone 0 or 1) for easy access to take your kitchen scraps to your worms, and to take your worm castings to your garden.
Step 3: Between the sheets magic happens
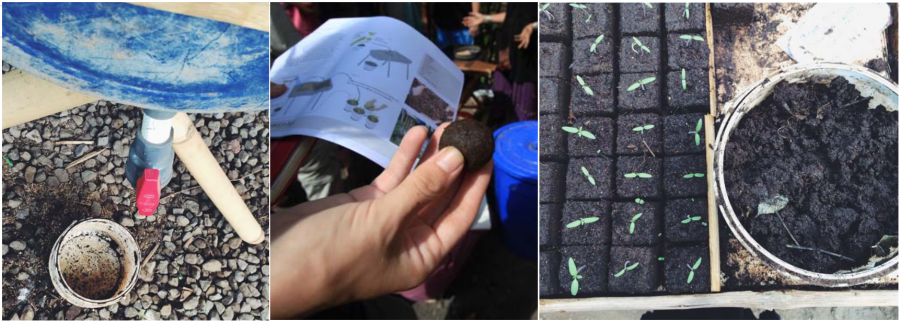
Think about it…What do worms need to deliver the goodness we need, to multiply and thrive? Simple… just like us they need water, food, safety, privacy, n a cool n comfy space to hide under. Soak your cardboard, paper and coco peat (ideally overnight). Place these on one end of your worm bin. Add decomposed compost, worms and food scraps, and cover with soaked cardboard. Finally, cover your worm bin so that pests can’t get in (ensuring plenty of oxygen can still get in). We use mesh with a bamboo frame that sits nicely on the worm bin (refer to the first photo above).
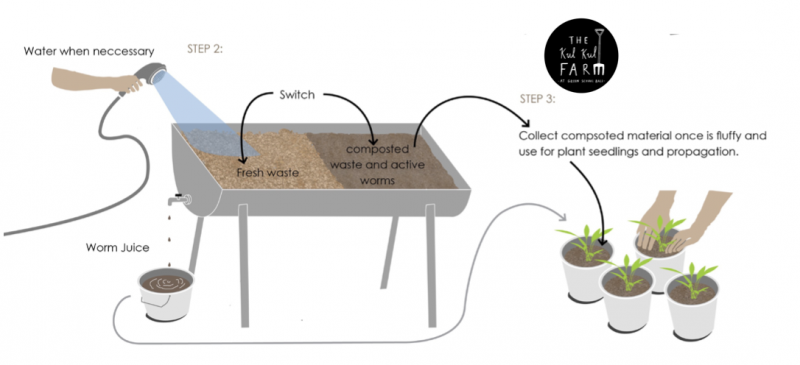
Step 4: Harvest
Once most of your food scraps and manure have decomposed (approx 2 weeks later, if you’re not in the topics this may take up to 1 month or more) add more wet cardboard, cow manure and food scraps on the other end of the worm bin consistently and wait for all your worms to congregate on this side, with fresh scraps and cardboard. You can then scoop out the castings from the other side. Worm castings are to be harvested from the bin every few months.
Another way to harvest your castings is to place your worms + castings on a piece of cardboard and flatten the mix out. After around 10 mins your worms will begin to cuddle towards the centre, away from the light. Once they’ve don’t this collect your castings from the outer edges.
Water the bin regularly and open your worm farm tap to collect your worm juice in a bucket to use as liquid fertilizer in your garden.
Step 5: Worm’s trash is man’s treasure