There are a million and one resources out there on starting your own vegetable garden and growing your own food. Here is our take and detailed guide for those considering growing some veg in their homes.
Step 1 Know Your Site
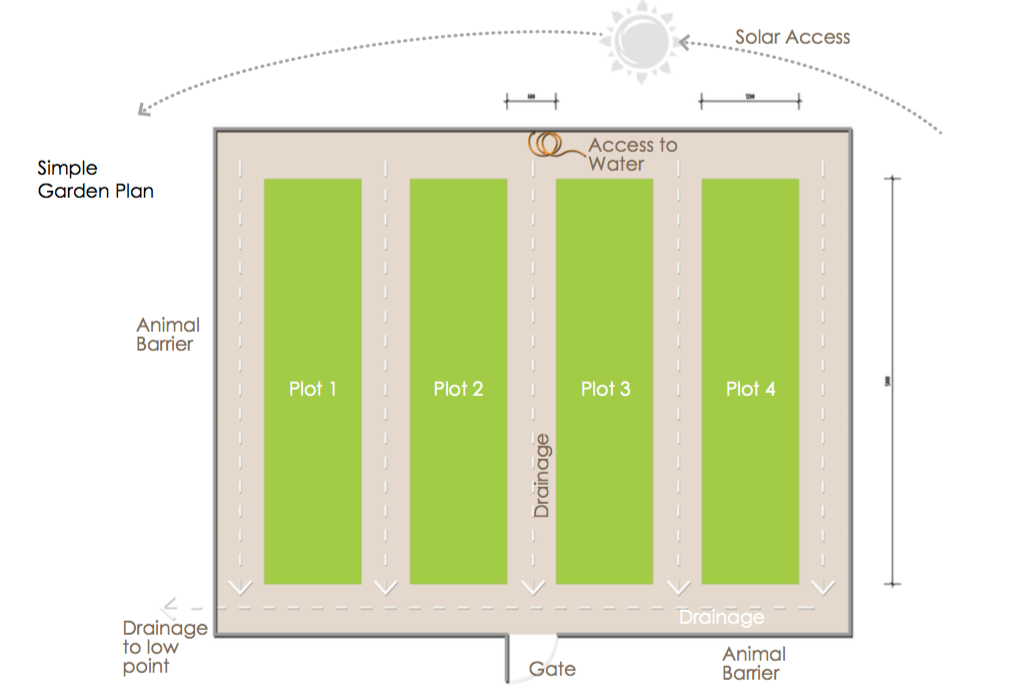
Plan the size of your garden to match the time you can commit to maintenance and available materials. Remember to start small and build in success. If you are new to gardening a good start is to design your garden into plots. A plot may vary in size but an easy manageable plot size is 6 x 1.2m. If you’re keen to spend a couple of hours a week maintaining your garden and want to harvest some bulk veggies for your household, we recommend you start with 4 plots. That will give you enough space to grow a variety of crops throughout the year. Review your site for good solar orientation, air flow, drainage, animal protection and access to water. Consider accessibility for the people who plan to use the garden and the types of tools they will use. Check your soil, is it light and fluffy, full of organic material, or is it hard like a rock with poor drainage? When you have found the best site for your garden you can begin preparation.
Step 2 Preparation
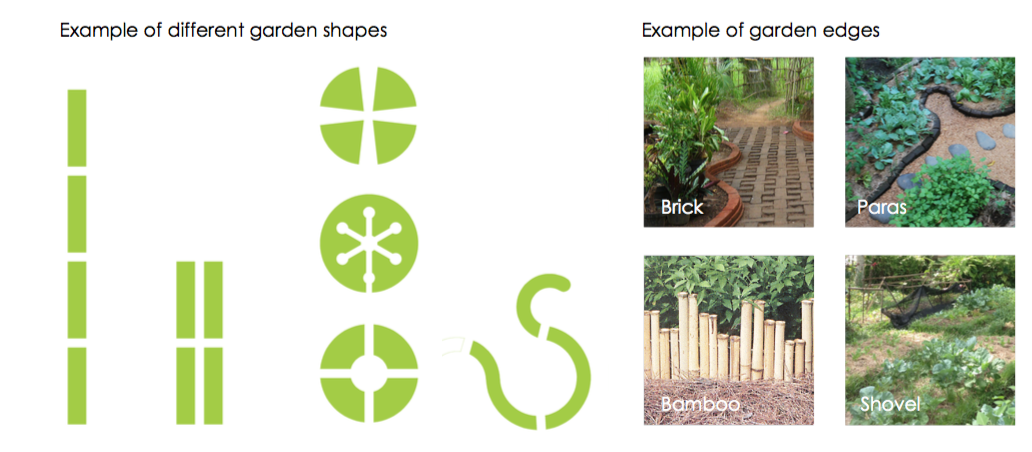
Mark your garden beds out on the ground. The most efficient use of space is to design linear beds between 90-150cm wide. For the best solar access try and design your beds north/south orientation. If you want to be creative and adventurous you can layout your garden in patterns considering that each part of the garden bed will need to be accessed for watering, weeding and harvesting and assuring the garden has adequate drainage. A good guide is to use an arm’s length from the path to the furthest part of the garden. If you like a tidy look you can edge your garden bed with various materials including timber, brick, stone or keep it simple and angle the edge of your garden bed to the path. Paths will vary in width depending on your needs. A walking path can be as little as 20cm, a wheelbarrow half meter and consider the need for any vehicle access. Covering paths in gravel, thick mulch, gravel or saw dust will make access easier. Thick organic mulch is always good because as it breaks down it can be used as part of a future garden bed and replaced with fresh carbon! To avoid wet muddy areas, make sure all paths and gardens drain to a low point away from the garden. Remove any grass or vegetation from the garden areas and use a fork to aerate the existing soil. Any grass in or edging your garden will increase your maintenance because the grass will compete against your crops for food, water and sunlight.
Step 3 Materials
Sprinkle amendments and trace elements on the garden areas then start to build up your beds with a 10cm thick carbon layer. This will help the garden to breath and drain excess water. Follow the carbon layer with 4cm of green waste. Make sure this green waste is weed free then add a 2cm layer of manure. Repeat the 10cm Carbon, 4cm Green Waste and 2cm Manure layer. Top the garden beds with 10cm of good quality soil mixed with finished compost. Select what you want to grow. Consider planting crops by seed or seedling, factor spacing, time to harvest and consider what grows well together.
Step 4 Planting
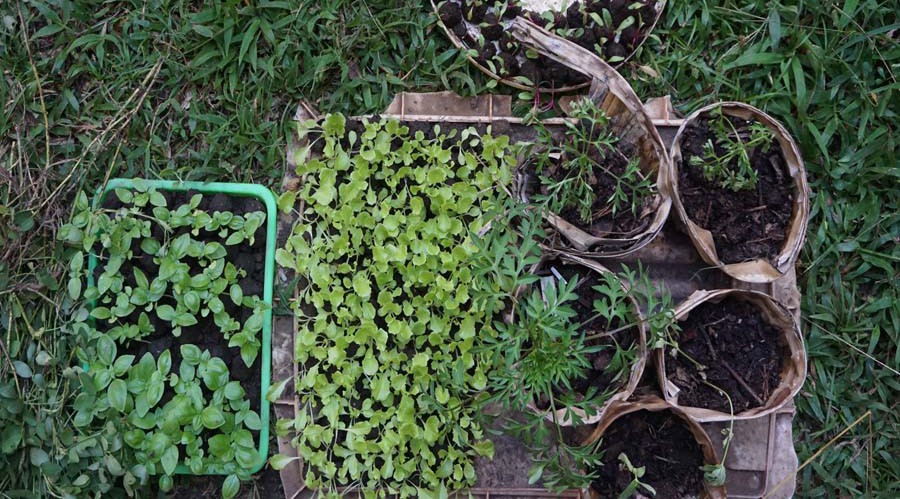
Plant crops (seedlings and seeds) directly into the top 10cm soil layer of the beds. The crops will naturally mine the garden bed for nutrients and begin composting the pile. If growing your own seedlings, they will be ready to transplant into a bed when they have 3 leaves. Mulching around plantings with a carbon layer or old newspaper or cardboard can be useful in reducing weeding and evaporation rate and to help with water retention.
Step 5 Harvesting
After harvesting crops, turn the remaining plants into the garden bed, thus turning the compost. Repeat 1 layer of 10cm Carbon, 4cm Green Waste and 2cm Manure layer. Reshape the garden beds to the desired width and finish again with 10cm of good soil. Plant new crops taking crop rotation into consideration. Harvest crops when ready and repeat process.
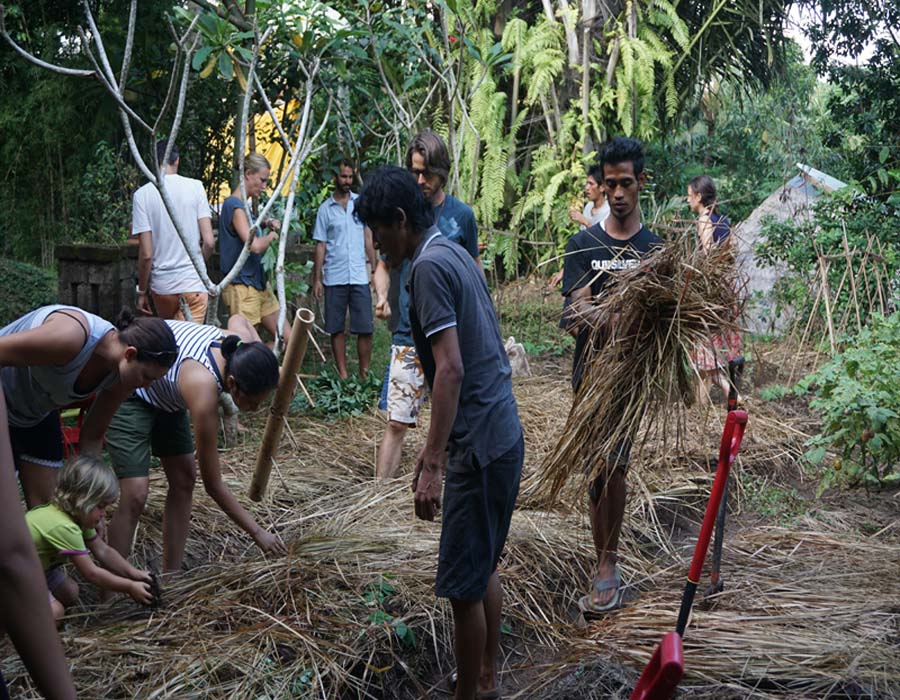
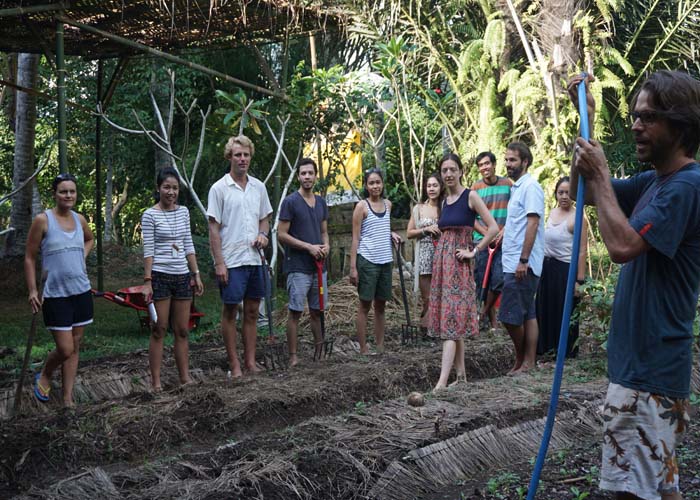
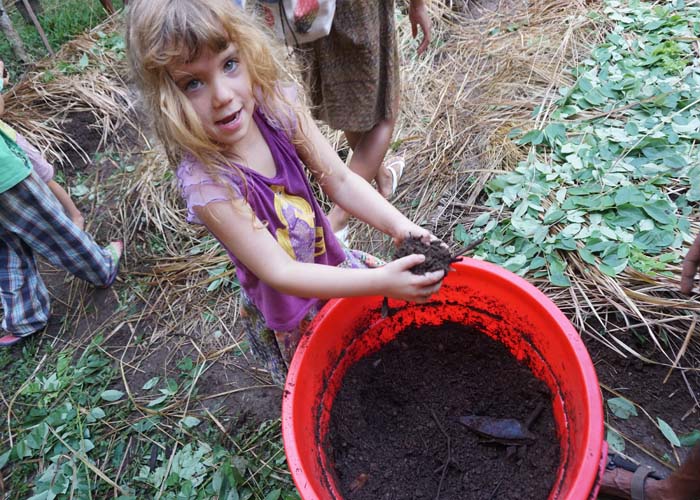
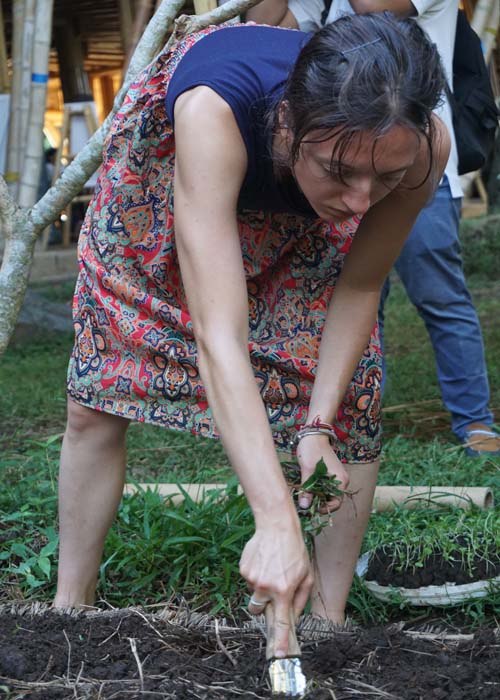
These photos were taken from our “Grow Your Own Veggies” Workshop at Green School’s Sustainability Event last weekend. Want to see more photos? Have a look here.